Installation and first start
The TimePunch Management is a Windows App that has to be installed must be installed. This can be done either with Windows 10 and Windows 11 via a so-called Windows Store App, or alternatively for server-based Windows Windows clients via an MSI setup, which can be rolled out centrally by IT or installed installed manually.
Installation as Windows Store App with automatic update
The installation as Windows Store App is done via the TimePunch Application Server
page via the TimePunch Management menu icon.

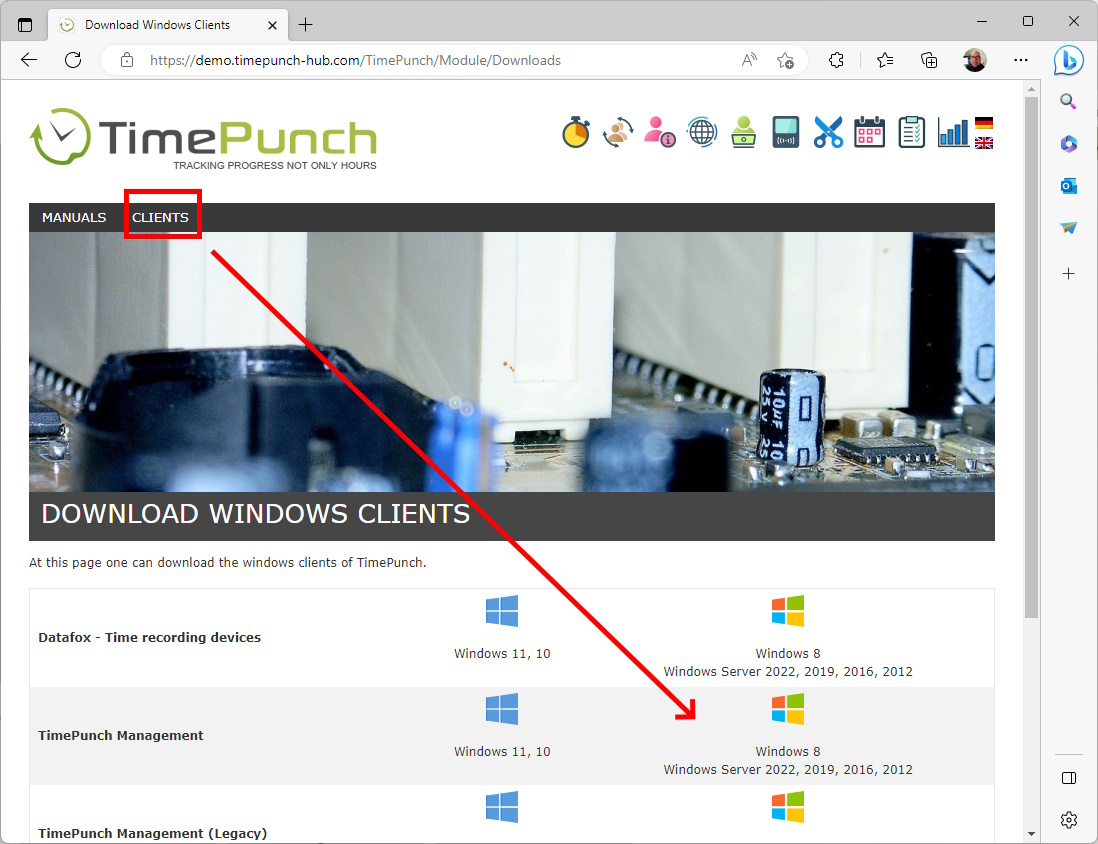
Installation with conventional MSI setup
The installation via the conventional MSI setup works via the menu item "APPS".
Starting the TimePunch Management
In both cases, TimePunch Management installs itself in Windows and can be started via the can be started via the Windows start menu.
When starting the TimePunch Management App for the first time, the server address must be must be entered first.
The server address will be sent to you when you create a new TimePunch system (https://test.timepunch.de). It consists of the freely selectable sub-domain (e.g. demo) and the fixed part and usually ends with TimePunch. As in the example of our demo system:
https://demo.timepunch-hub.com/TimePunch
If your system was created in our cloud, your name is already stored in the system. To do this, use the password that was entered when the test account was created.

Important Depending on the authorisation you have in TimePunch, you will be redirected to a different start page. start page.
- Personnel management : You will be redirected to the Real-time bookings page. There you have an overview of all employees at a glance and can correct, start and stop the time recording if necessary.
- Project management: You will be redirected to the Project page. There you can evaluate your projects, view, evaluate and, if necessary, correct the project times of the project members.
- Staff members: You will receive an overview of the current monthly bookings. There you can view your flexitime account and view the bookings currently and retrospectively.
Resetting the password
For security reasons, we only store your password in encrypted form. If you no longer know it yourself, you can reset your password using the "Self-disclosure" function.

Important: Always use the server URL that was sent to you in the e-mail when you created the test system. sent to you in the mail when you created the test system.